Quick start
This page takes you from zero to a working, paid license check. You do not need to know how webhooks or payment APIs work. Licensr handles payments and keys. You add one small screen to your product.
How selling works
Two things to know before you start:
- Licensr does not host your plugin files. You host the download on your own website, store, or marketplace page. Then you link your "Buy" button to your Licensr buy page, which looks like
/buy/your-slug(the dashboard shows your full link). Customers pay there and get their key by email. - Licensr does not unlock anything by itself. Your product asks Licensr whether a key is valid and unlocks only when the answer is yes. The rest of this page shows how.
Before you start
- A Stripe, Mercado Pago, PayPal, or Razorpay account. Licensr bills on your account, so the money goes straight to you. See payment providers.
- A place to host your download (your website is fine).
Step 1. Connect payments
In the admin panel, follow the Get started checklist on the dashboard. The first steps connect your payment account. Details are in payment providers.
Step 2. Create a product
A product is the thing you sell, for example "My Reverb Plugin". Licensr fills in the Product ID from the name, for example my-reverb. Your product sends this ID on every check.
Under What are you building?, pick your platform. Licensr fills in the two settings below it and opens the right guide for you:
| Pick this | Activation mode | Client type | Guide |
|---|---|---|---|
| WordPress plugin | Domain | Native app | WordPress |
| Browser extension (Chrome, Firefox, Edge) | Seat | Browser | Browser extensions |
| Audio plugin (VST, AU, AAX) | Seat | Native app | Audio plugins |
| Desktop app | Seat | Native app | Desktop apps |
| Game engine asset or mod | Seat | Native app | Game engines |
| Adobe or Figma plugin | Seat | Browser | Creative tools |
| VS Code or productivity extension | Seat | Native app | Editor extensions |
| Trading indicator | Seat | Native app | Trading indicators |
| CAD or architecture plugin | Seat | Native app | CAD and AEC |
| Widget embedded on customer sites | Domain | Browser | Anything else |
| Something else (REST API) | You choose | You choose | Anything else |
Licensr shows the result as one line, for example "Runs as a native app · one license per computer". Click Change only if your product differs from what the guide recommends.
The two settings you can reveal with Change are independent:
- Activation mode is what one activation counts: a device or user (Seat) or a website (Domain).
- Client type is where license checks come from. Native app is desktop apps, audio plugins, games, and WordPress plugins (PHP runs on the server). Browser is code running inside a web page, such as browser extensions and web apps.
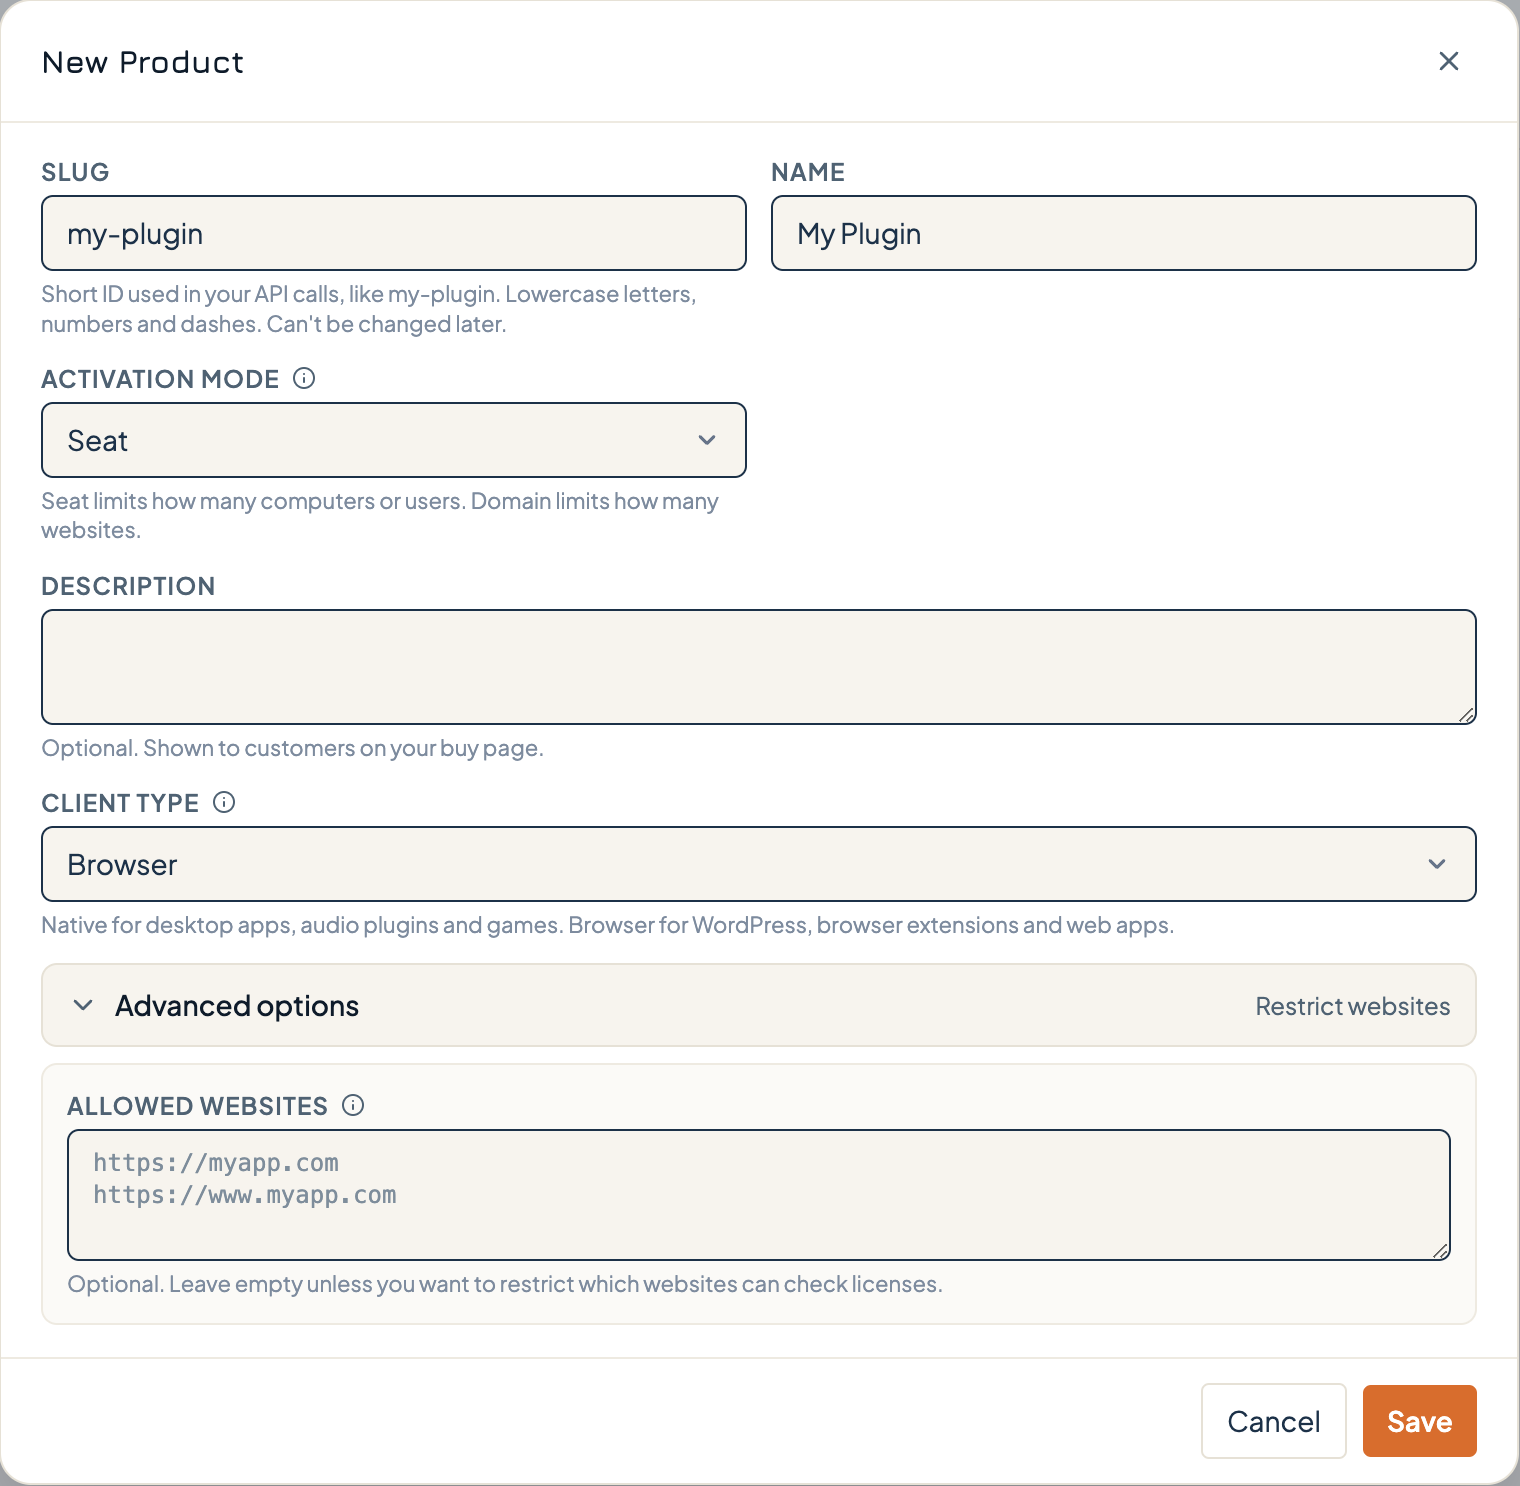
Leave Advanced options closed unless you need it. For a Browser product it limits which websites can check licenses. For a Native app it only lists the websites your in-app checkout may send customers back to.
Step 3. Create a plan
A plan is one price for your product, for example "$49 per year, 2 devices". You can add more plans later. Keep the defaults if you are unsure. The plan decides how many devices (or websites) one key can be used on.
Step 4. Create an API key
Right after you create the product, Licensr opens its API keys window with Client key already ticked (you can reopen it from the product's API keys button). Create the key and copy it: it is shown once. This is the key you put in your product. It starts with pk_test_ for testing and pk_live_ for real sales.
Step 5. Issue yourself a test license
You do not have to pay to try your integration. In the admin panel go to Customers → Issue license, enter your own email, pick your product and plan, and issue it. You get a real key (it starts with lic_) by email. The dashboard checklist has a shortcut for this.
Step 6. Add a license screen to your product
This step is a coding task. Read Not a developer? Start here, then send your developer the guide and the details it lists.
Your product needs a small screen where the customer pastes their key. It does three things:
- Activate when the customer clicks "Activate". This registers the device or website, so the plan's limit works.
- Validate right after, and again at every launch and about once a day in the background. This is how a refund, a cancellation, or an expiry reaches your product.
- Deactivate when the customer clicks "Deactivate", so they can move to a new computer.
Choose the guide for what you are building. Each one has the screen layout and code to copy:
- WordPress plugin
- Browser extension (Chrome, Firefox, Edge)
- Audio plugin (VST, AU, AAX)
- Desktop app
- Game engine asset or mod
- Adobe or Figma plugin
- VS Code or productivity extension
- Trading indicator
- CAD or architecture plugin
- Anything else, using the REST API
Using JavaScript, C++, or C# / Unity? An SDK does the calls for you.
The one rule
The answer to "should I unlock?" is the valid field in the validate response. true unlocks. false stays locked, for any reason. Ignore the other fields until you need them. See Validate a license key for the exact response.
Step 7. Go live
- Switch from your
pk_test_key to apk_live_key in the release build. - Put the link to your buy page (shown on the dashboard) on your download page.
- Buy your own product once to see the full flow.
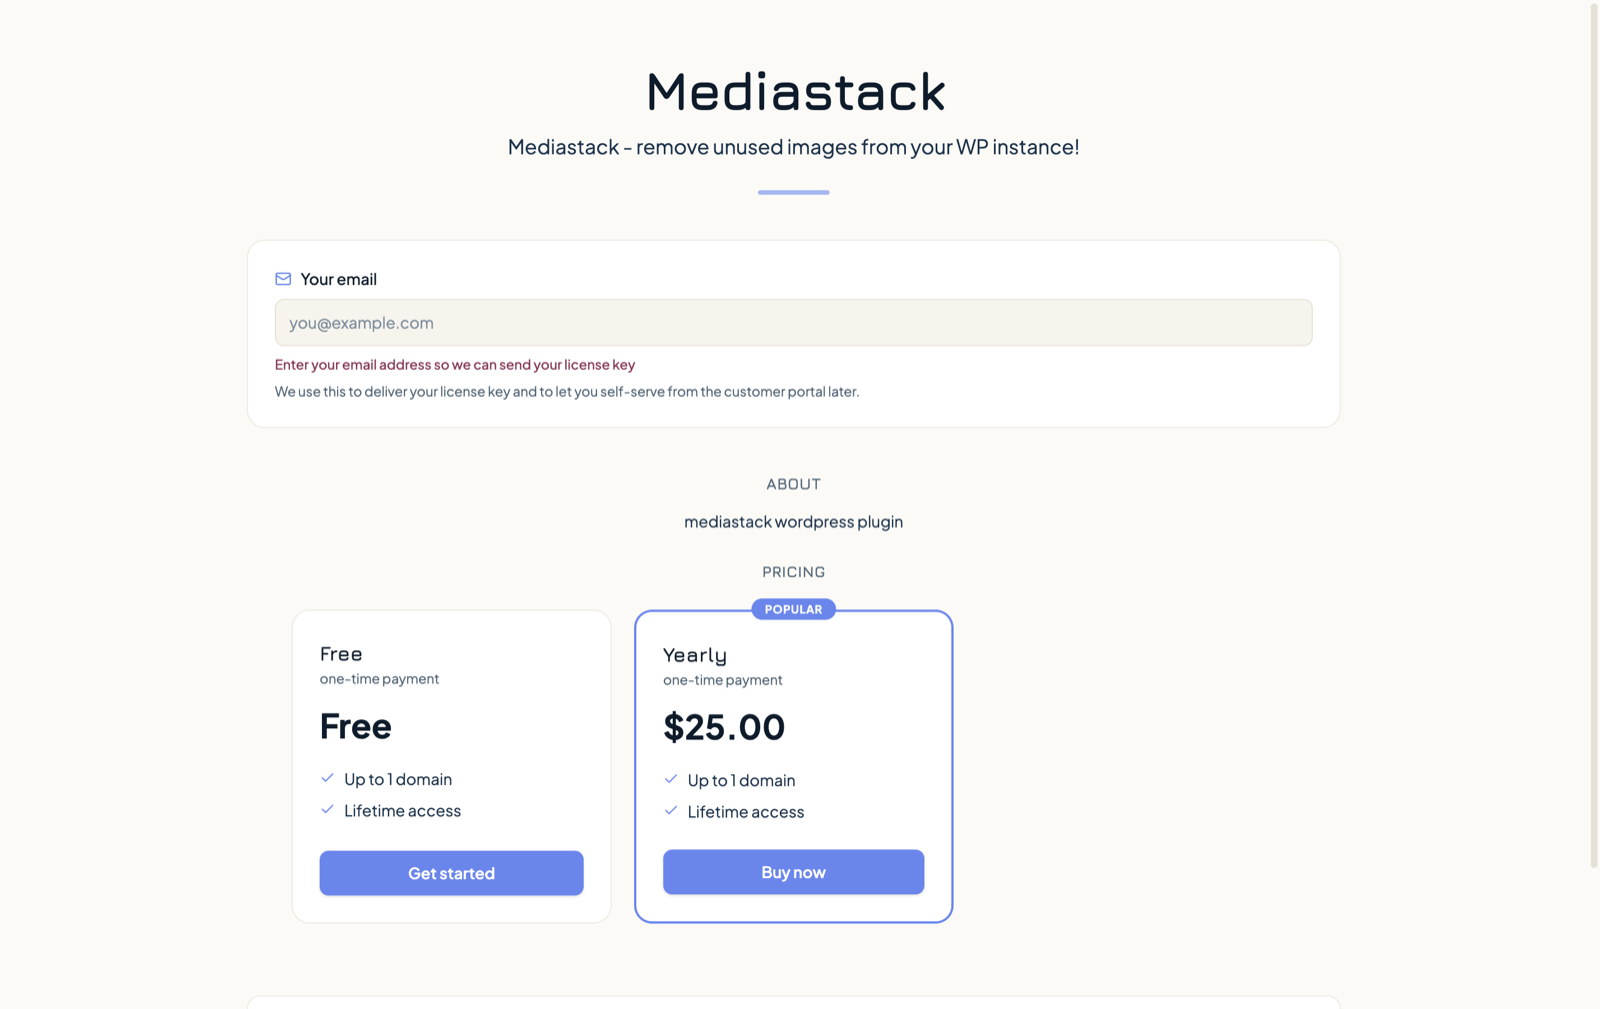
Your buy page looks like this. Customers enter their email, pick a plan, and pay. If they forget the email, the page tells them what is missing instead of failing silently.
The dashboard shows You're live! when payments, a product, a plan, a test license, and a first check from your product are all done.
Next
- License calls guide: every field, error, and rule for activate, validate, and deactivate.
- Advanced topics: per-plan feature flags, offline tokens, in-app checkout, and rate limits.
- API reference: the full list of endpoints.